

Starlink Standard 4 and 4 X Lockable Flat Mount with 8° Tilt
$66.99
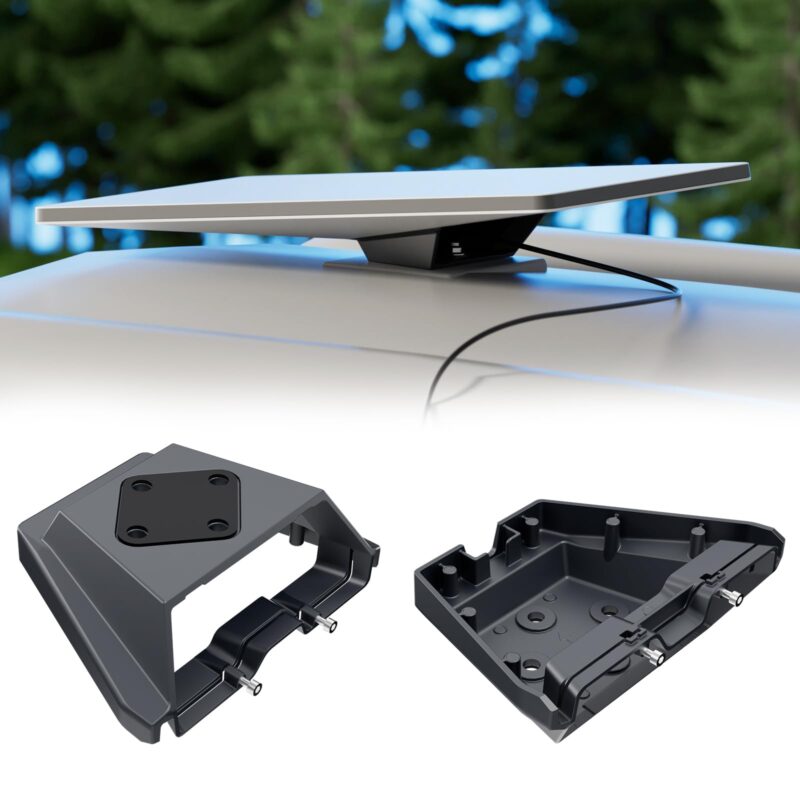
Mount a compatible Starlink Standard 4 or Standard 4 X dish close to a suitable flat surface with this grey aluminum alloy bracket. The mount sets a fixed 8° tilt and provides rear cable access and retaining screws for the dish.
| Brand | STARGEAR |
|---|---|
| Model Name | Mobility-Gen3-GY |
| Color | Grey |
| Material | Aluminum Alloy |
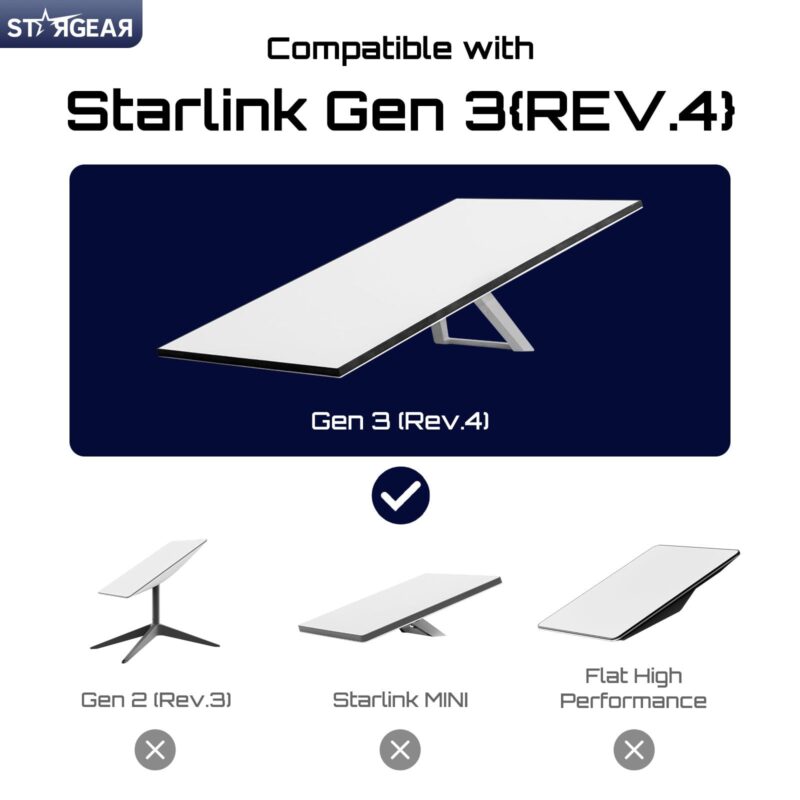
| Compatible Devices | Starlink Standard 4 and Standard 4 X Dishes with the Matching Gen 3 Mounting Interface |
| Mounting Type | Mechanical Fastening with Four Mounting Points |
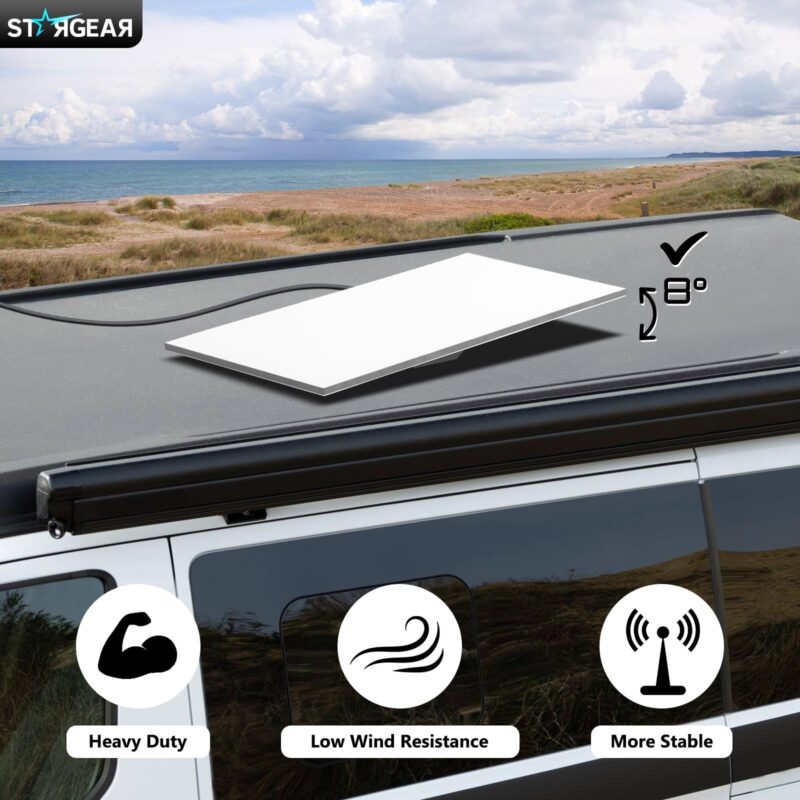
| Dish Angle | Fixed 8° Tilt |
| Special Feature | Rear Cable Opening and Two Dish Retaining Screws |
| Item Dimensions | 9.5 × 7 × 3 in (Amazon Listed) |
| Item Weight | 0.77 kg (Amazon Listed) |
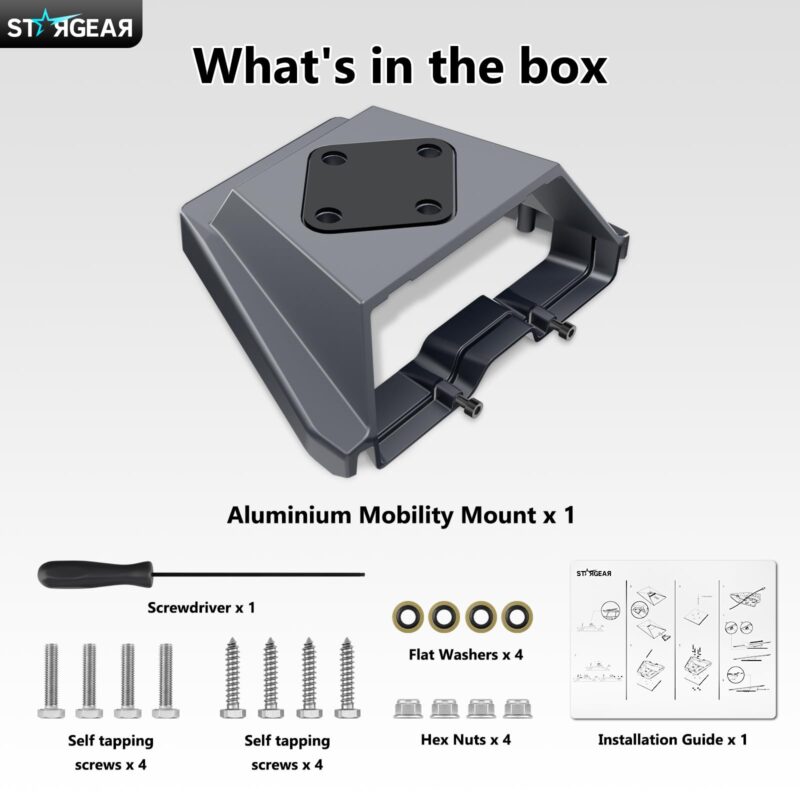
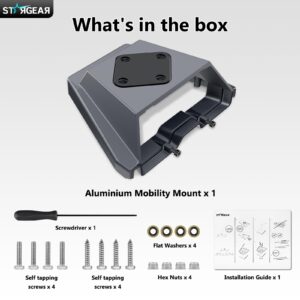
| Included Components | 1 Mount, 2 Sets of 4 Mounting Fasteners, 4 Flat Washers, 4 Hex Nuts, 1 Screwdriver and 1 Installation Guide |
| Unit Count | 1 Kit |
Keep Your Dish Low with the Starlink Gen 3 Lockable Flat Mount
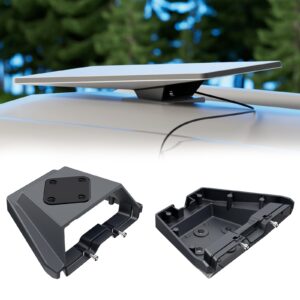
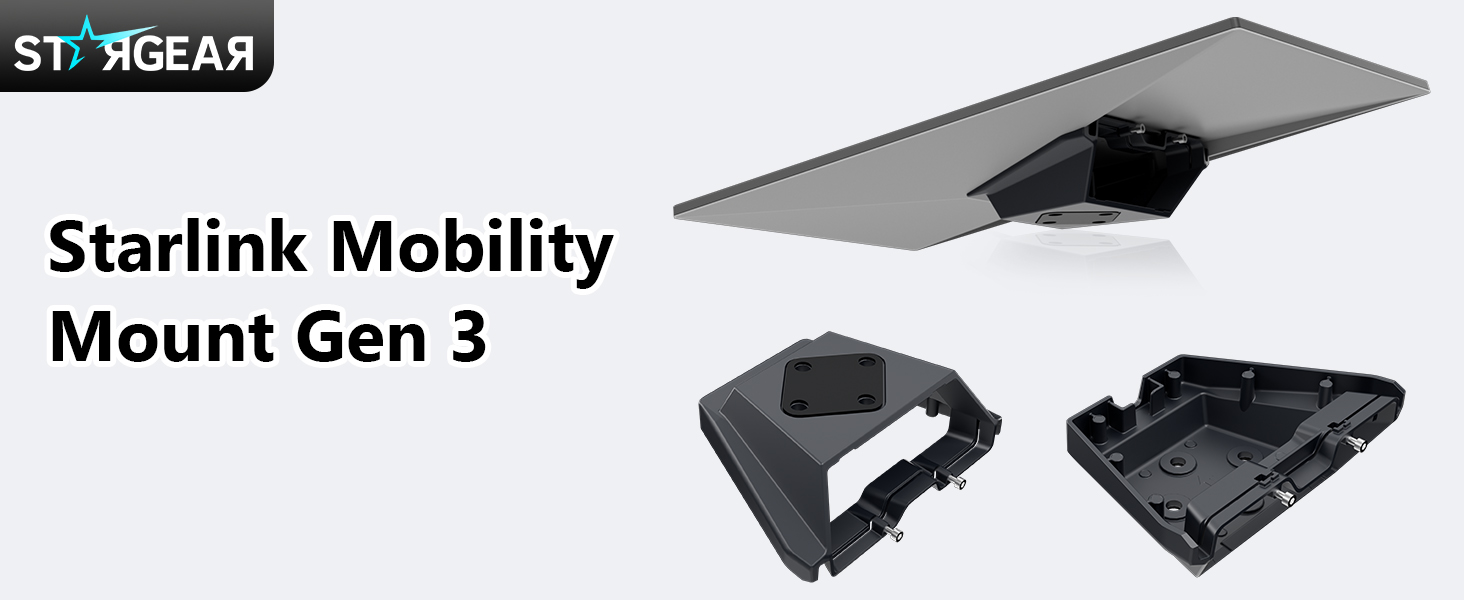
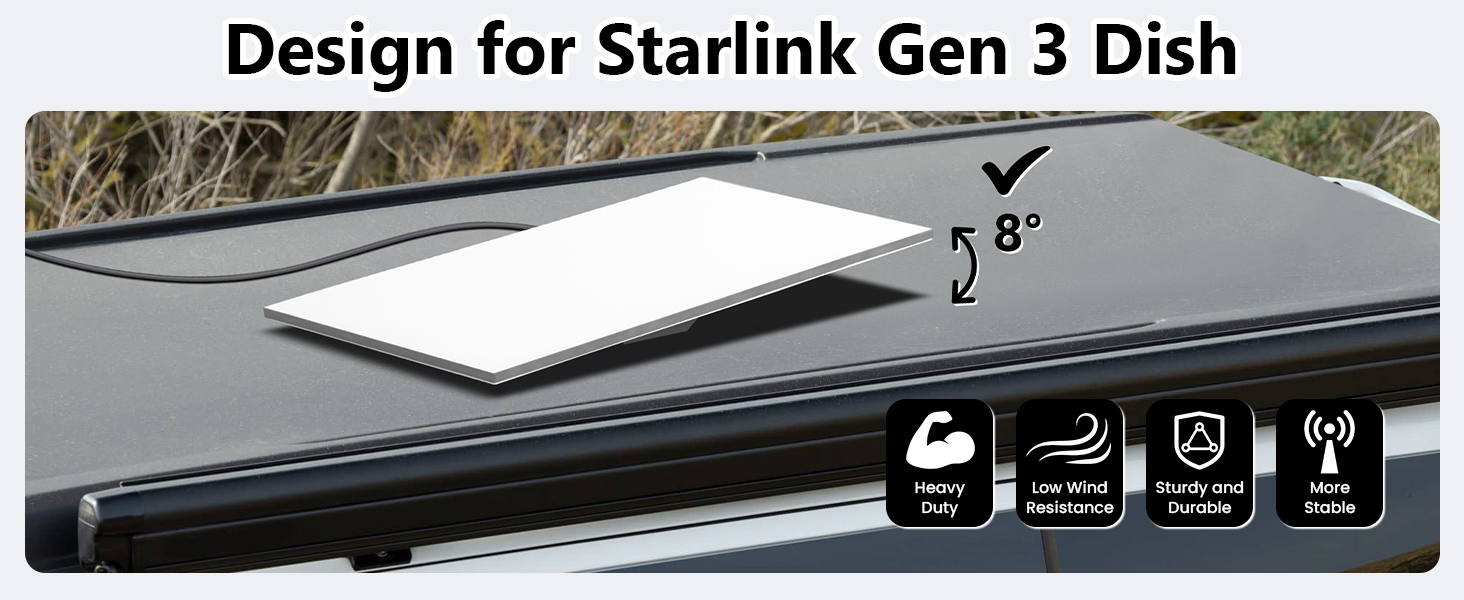
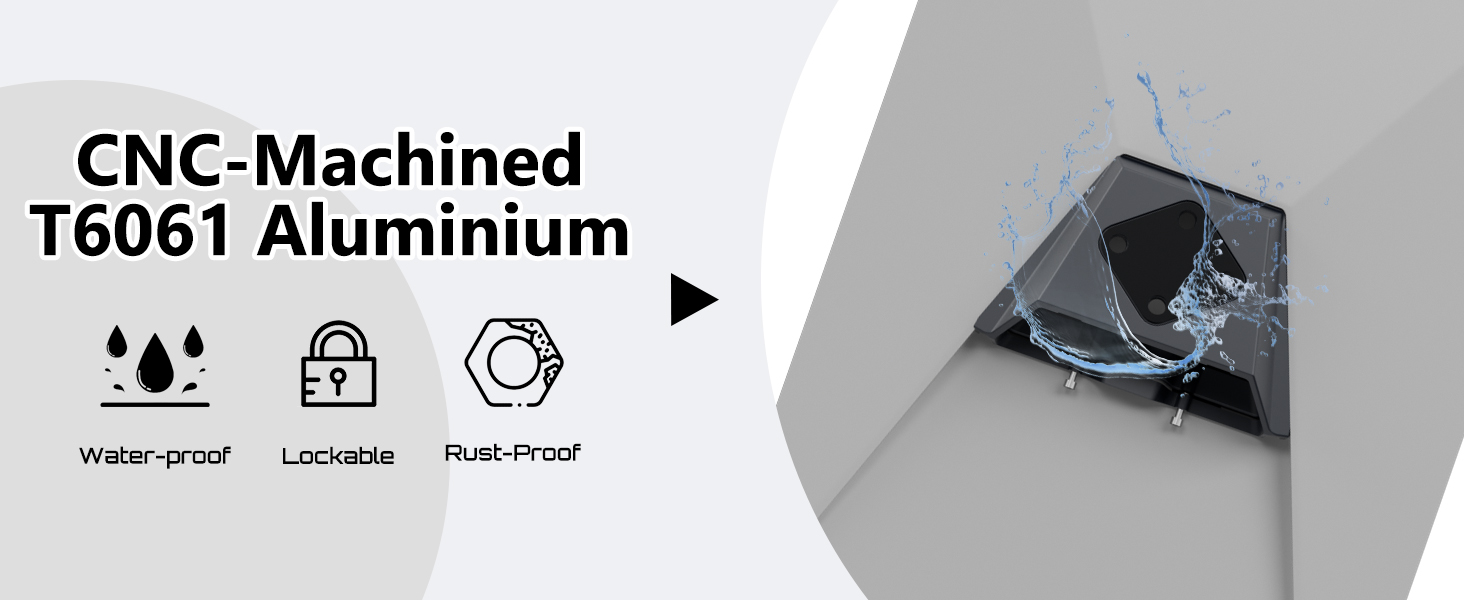
The STARGEAR Starlink Gen 3 Lockable Flat Mount holds a compatible rectangular Standard dish at a fixed 8° tilt. The grey aluminum alloy bracket sits close to its mounting surface.
Match the Mount to Your Standard Dish
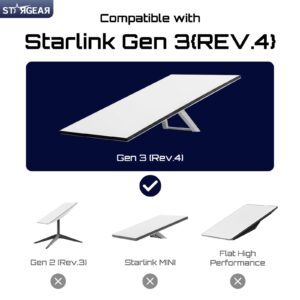
This Starlink Standard flat mount fits Standard 4 and Standard 4 X dishes with the matching Gen 3 mounting interface. Compare the rear of your dish with the compatibility illustration before ordering.
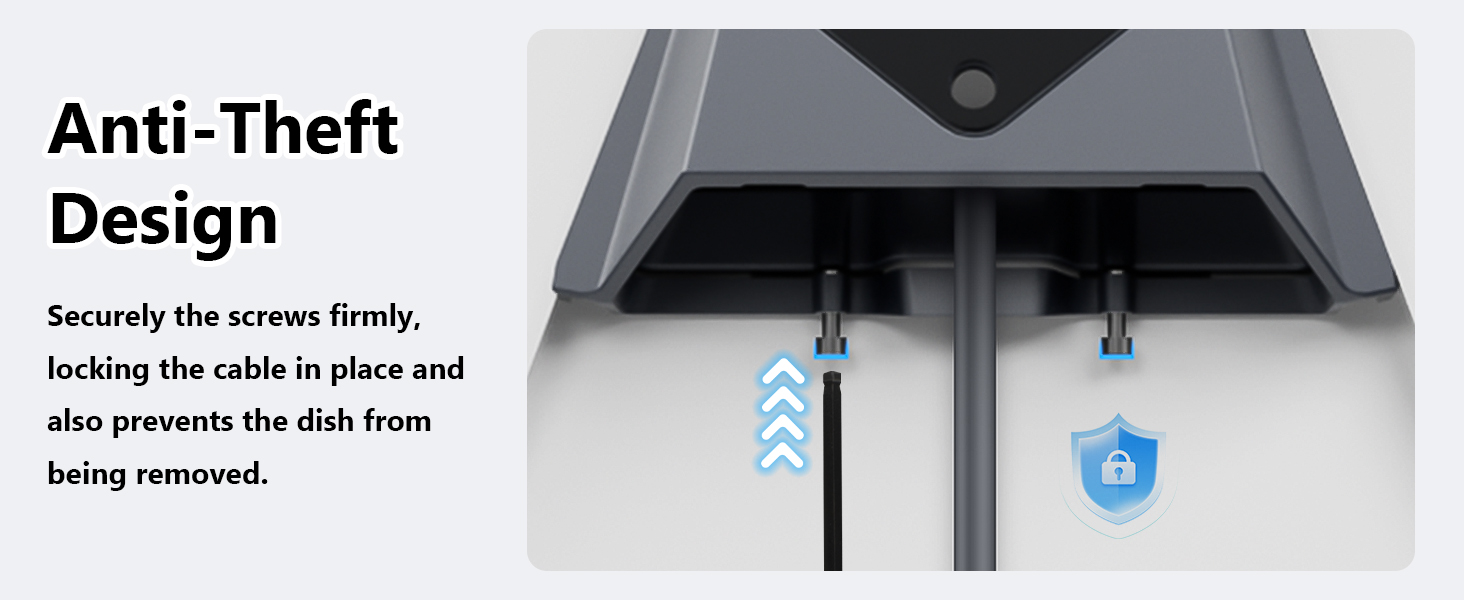
The rear opening gives you room to route the Starlink cable and reach the retaining screws. Check that the mounting location leaves enough room for both the connector and the supplied screwdriver.
Choose a Suitable Flat Mounting Surface
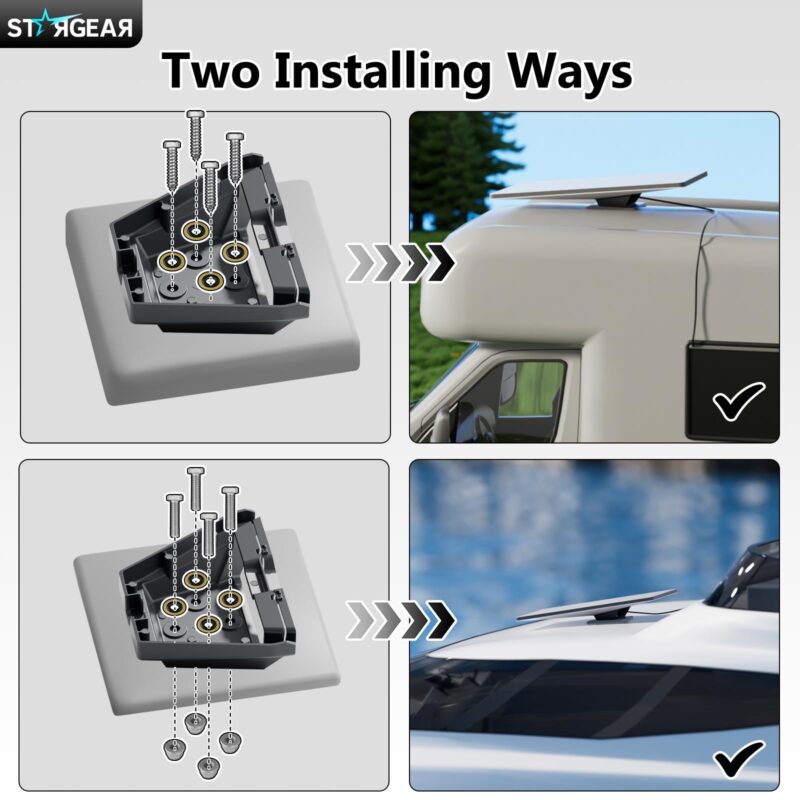
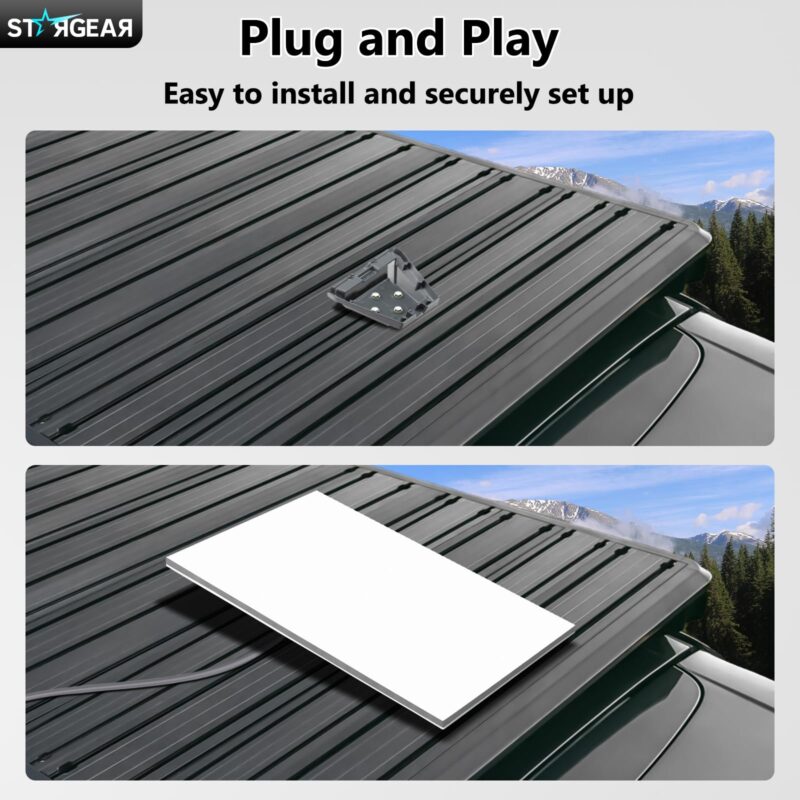
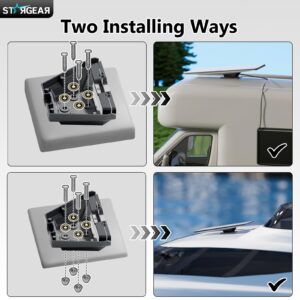
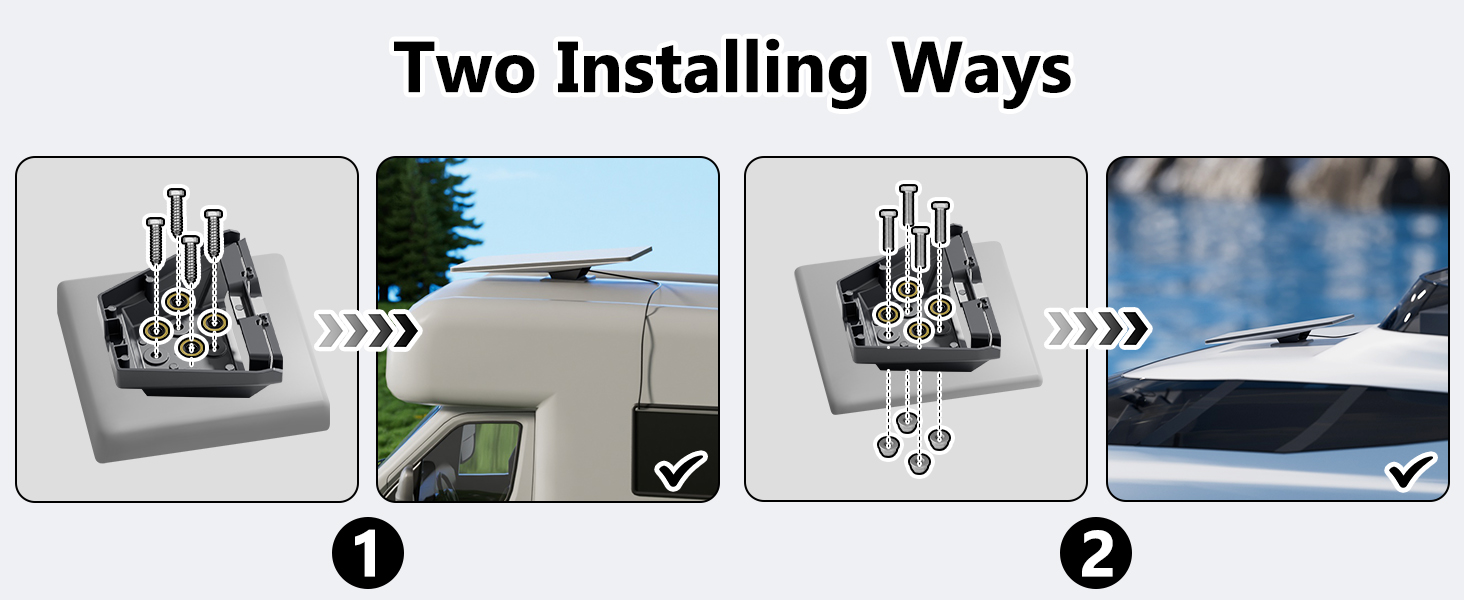
For a Starlink Gen 3 roof mount installation, choose a flat, structural surface approved for mounting hardware. The base has four mounting points, and the installation diagram shows screw and through-bolt options.
Use the fastening method approved for your roof or mounting panel. Before making any holes, check what’s underneath and follow the surface manufacturer’s instructions for fastening and sealing.
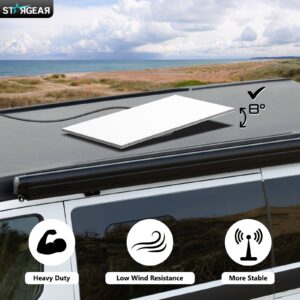
This 8° tilt mount sets the dish at a fixed angle relative to the base. Check the sky view from the intended location in the Starlink app before you commit to the position.
Install the Starlink Gen 3 Lockable Flat Mount
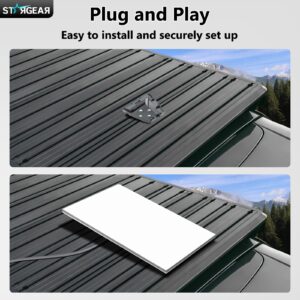
Secure the screw-mounted Starlink bracket according to the included guide. Route the cable through the rear opening and seat the connector fully where the dish can rest without pinching the cable.
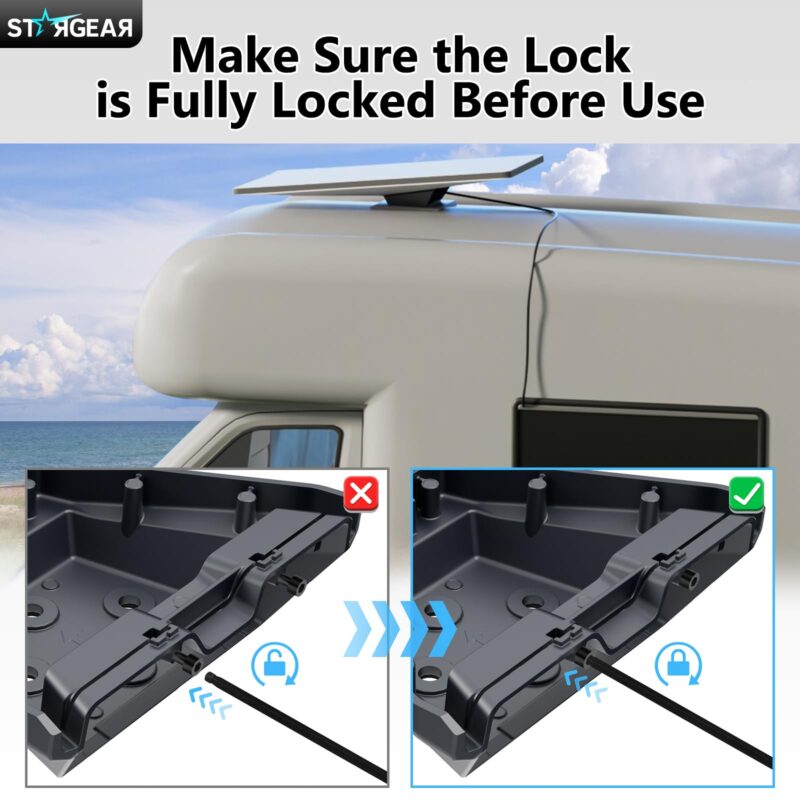
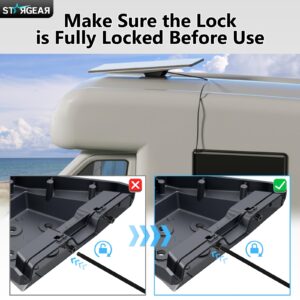
Fit your dish into the bracket and tighten the retaining screws with the supplied screwdriver. Follow the guide and avoid overtightening.
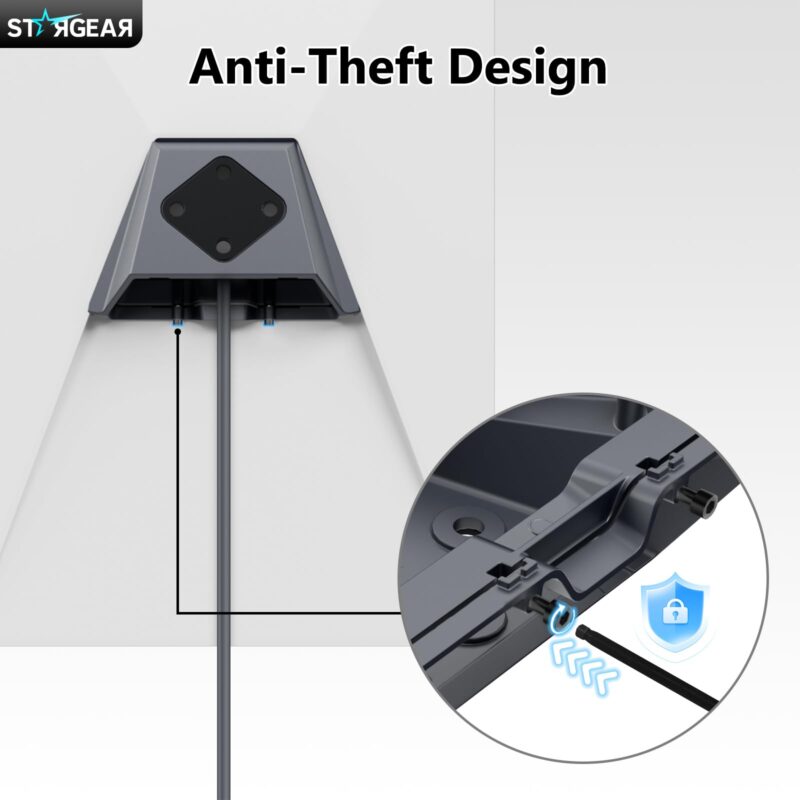
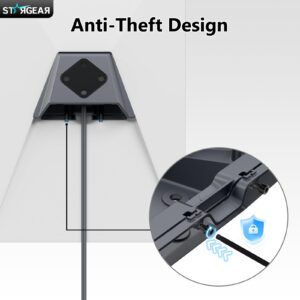
The Starlink Gen 3 Lockable Flat Mount adds a tool-operated step when removing the dish. Keep the screwdriver accessible so you can loosen the retaining screws when the dish needs service or storage.
What Comes with the Flat Mount
The kit includes the aluminum alloy bracket, two sets of four mounting fasteners, four flat washers, four hex nuts, a screwdriver and an installation guide. Use your existing Starlink dish and cable.
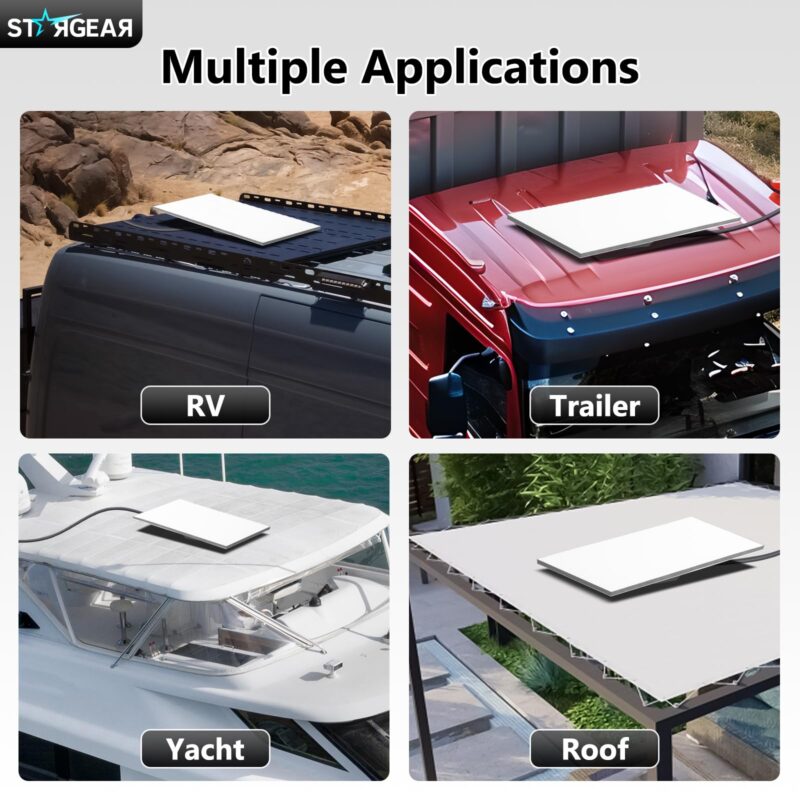
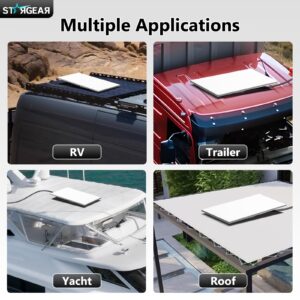
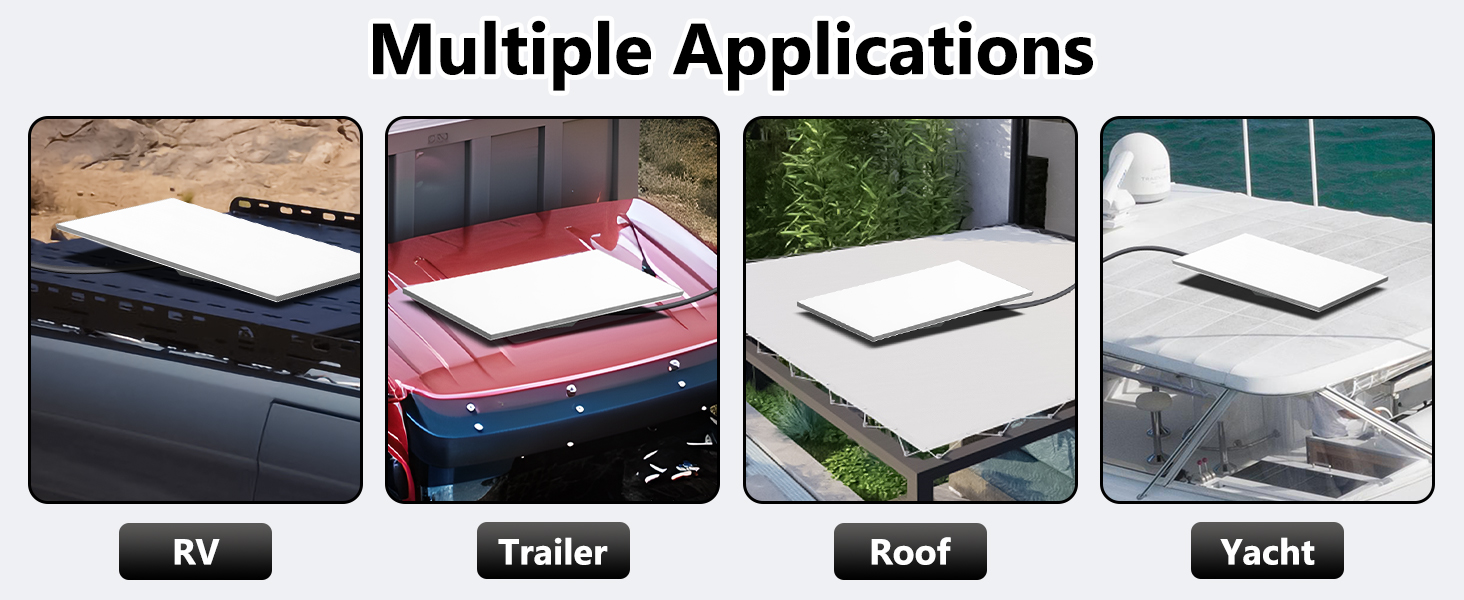
For vehicle or boat setups, use the mount while parked or docked. Remove the dish before driving or getting underway.
The application images do not establish a speed or wind rating.
Why You’ll Love It
- The fixed 8° tilt keeps the dish close to the mounting surface.
- Four mounting points support the fastener options shown in the guide.
- The rear opening keeps the cable and retaining screws accessible.
- The supplied screwdriver operates the dish retaining screws.
- The kit includes the mounting hardware shown in the package diagram.

FAQ
Q1: Which dishes fit the Starlink Gen 3 Lockable Flat Mount?
A1: It fits Standard 4 and Standard 4 X dishes with the matching Gen 3 rear mounting interface. Compare your dish with the compatibility diagram before ordering.
Q2: Do I need to drill holes?
A2: The base attaches with screws or through-bolts. Whether you need new holes depends on the surface and whether it already has suitable mounting points.
Q3: Can I adjust the tilt?
A3: The bracket sets a fixed 8° angle relative to the mounting surface. Choose a position with enough clearance and a clear view of the sky.
Q4: How do I remove my dish from the Starlink Gen 3 Lockable Flat Mount?
A4: Support the dish and loosen the retaining screws with the supplied screwdriver. Follow the installation guide to disconnect the cable and lift the dish clear.
Q5: Can I leave the dish fitted while driving or sailing?
A5: Use the setup while parked or docked. Remove the dish before moving the vehicle or boat and follow the equipment manufacturer’s instructions for transport.
Related products
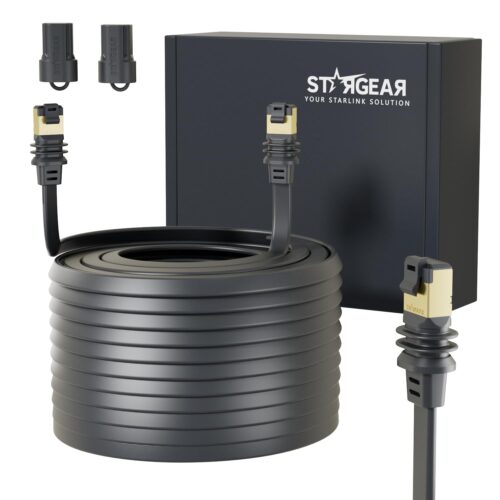
Flat RJ45 Window Cable for Starlink Mini and Standard 4/4 X
Price range: $39.99 through $79.99
Select options
This product has multiple variants. The options may be chosen on the product page
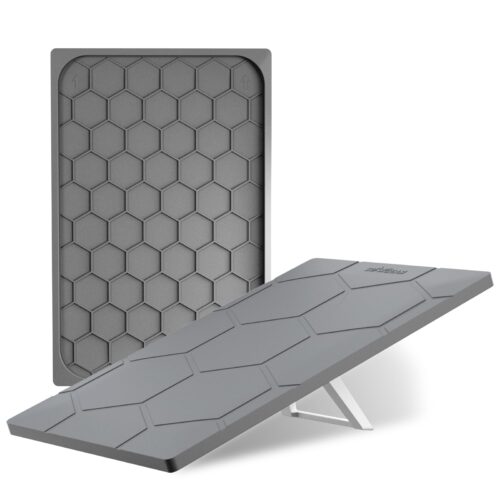
Silicone Protective Cover for Starlink Gen 3 – Outdoor Dish Protection
Price range: $56.99 through $69.99
Select options
This product has multiple variants. The options may be chosen on the product page
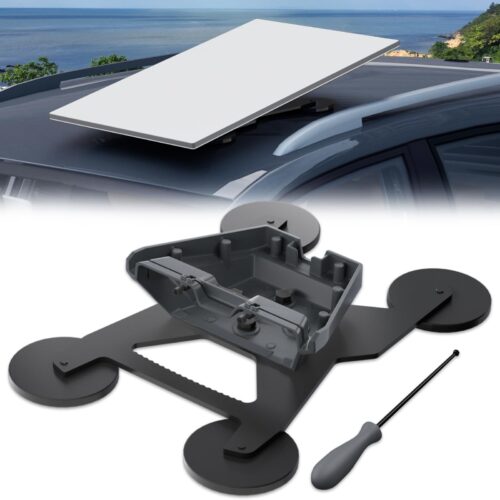
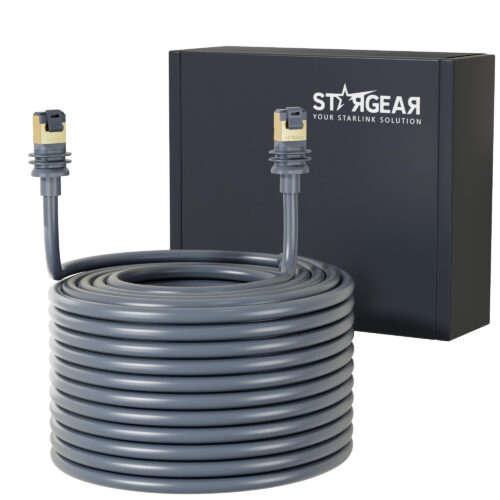
Starlink Gen 3 Replacement Cable for Standard 4/4 X and Mini
Price range: $25.99 through $56.99
Select options
This product has multiple variants. The options may be chosen on the product page

Reviews
There are no reviews yet.