



Starlink Mini Lockable Rail Mount for 7/8, 1 and 1.25 in Bars
$69.99
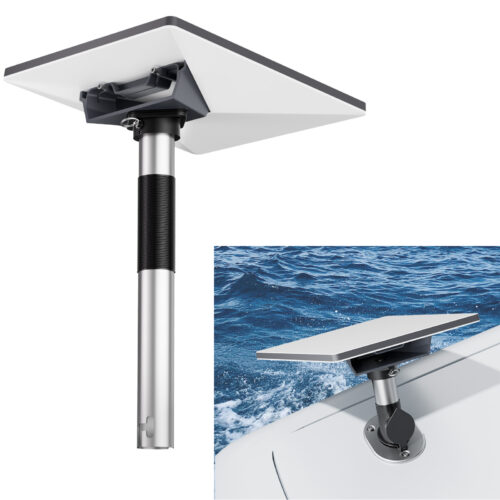
The Starlink Mini Lockable Rail Mount clamps onto a compatible 7/8, 1 or 1.25 in round bar on a roof rack, RV or boat. It pairs a gray aluminum alloy bracket with two sets of rubber inserts and locking screws that retain the Mini in the cradle.
| Brand / Manufacturer | STARGEAR |
|---|---|
| Model Name | SG-Mobility-MINI-GY |
| Compatible Device | Starlink Mini |
| Color | Gray |
| Material | Aluminum alloy |
| Supported Round Bar Outside Diameters | 7/8 in, 1 in and 1.25 in |
| Special Features | Round bar clamp, slide-in cradle and tool-operated locking screws |
| Included Components | 1 tube bar mount kit with two sets of rubber inserts, mounting screws, a hex wrench and a long screwdriver |
| Listed Item Dimensions (L × W × H) | 9.84 × 7.09 × 9.8 in |
| Listed Item Weight | 1.5 lb |
| Unit Count | 1 kit |
Starlink Mini Lockable Rail Mount for Round Bars
The Starlink Mini Lockable Rail Mount holds the Mini on a compatible round rail when a flat mounting surface is unavailable or already occupied. This gray aluminum alloy Starlink Mini tube mount combines a round bar clamp below with a slide-in dish cradle above, leaving the surrounding surface clear.
Measure the Outside Diameter Before Ordering
The Starlink Mini Lockable Rail Mount fits three round bar sizes: 7/8 in, 1 in and 1.25 in. Measure the outside diameter where you plan to clamp it.
The bare clamp is sized for a 1.25 in bar, and the two included rubber insert sets are sized for 1 in and 7/8 in bars. Place the clamp on a straight section with room on both sides for the hardware.
Check clearance at bends, joints and nearby equipment before choosing your mounting spot.
How the Locking Screws Retain the Mini
The locking screws secure the dish in the cradle after it slides into place. Releasing the dish requires loosening those screws with the supplied tool.
On the Starlink Mini Lockable Rail Mount, the four lower clamp screws hold the base on the bar, while two cradle screws retain the dish.
Fit the Clamp and Route the Cable
With the vehicle parked or the boat docked, select the insert for the bar if needed. Fit the clamp halves around the rail and tighten the lower screws evenly.
Pass your Mini power cable through the bracket opening and connect it to the dish. Leave enough slack to slide the Mini into the cradle without pulling on its power connection.
Once the Mini is seated, snug the two cradle screws without overtightening them. Before use, check that the base does not rotate and that the cable clears the rail and pinch points.
Pick a Position on Your Rack or Railing
For a Starlink Mini roof rack mount or RV rail setup, choose a rigid bar that leaves room for the Mini and any nearby doors, hatches or equipment. For a Starlink Mini boat rail mount, choose a rigid round railing with room for lines, covers and foot traffic.
Position the dish with a clear view of the sky. Use the Starlink Mini Lockable Rail Mount for parked or docked setups.
Check the mount and rail before each use, and stow the dish before travel.
Why You’ll Love It
- One clamp fits three specified round bar diameters.
- Two rubber insert sets cover the smaller bar sizes.
- Locking screws retain the Mini in its slide-in cradle.
- Cable opening keeps the Mini’s power connection accessible.
- Clamp hardware and installation tools are included.


FAQ
Q1: Will I need a separate mounting bracket for my Starlink Mini?
A1: The Starlink Mini Lockable Rail Mount includes the cradle and clamp. Bring your own Starlink Mini, power cable and power source, and use a compatible round rail.
Q2: Which insert should I use for my rail?
A2: Use the rubber insert sized for 7/8 in or 1 in to match your bar. For a 1.25 in bar, use the clamp without an insert.
Q3: Can I use this on a square or aero roof rack bar?
A3: Choose a mount made for your bar profile. This clamp is shaped for round bars, so check the shape and outside diameter before ordering.
Q4: Does lockable mean it comes with a key?
A4: The Starlink Mini Lockable Rail Mount uses tool-operated locking screws to retain the dish. Use the supplied long screwdriver to release those screws.
Q5: Where can I use the mount on an RV or boat?
A5: Use a rigid, compatible round rail when parked or docked. Leave room for the dish and cable, and check that the bracket cannot twist on the bar.
Related products
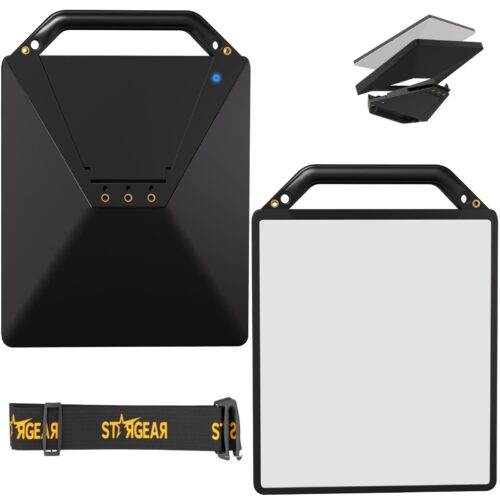
Starlink Mini DIY Mounting Case with Handle and Strap, Black or Gray
$49.99
Select options
This product has multiple variants. The options may be chosen on the product page
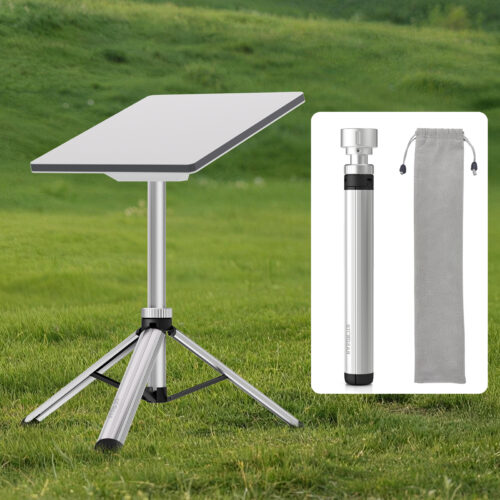
Starlink Mini Aluminum Tripod Mount, Silver or Black
$55.99
Select options
This product has multiple variants. The options may be chosen on the product page

Reviews
There are no reviews yet.